Sketch Things Better with the 7 Ways of Seeing

When you draw an object, you understand it in a whole new way.
We’ve all been there. You’re in a meeting, a boardroom or a classroom, trying to explain an important idea and words just aren’t cutting it. Or you’ve got a brilliant inspiration of how a process could work, but the flowchart you sketched out looks dead and mundane. Or you want to remember that smart thing a conference speaker said, but you can’t find it anywhere in your 17 pages of notes. So…how do you bring ideas and words to life?
Short answer: Make pictures. Using visuals to illustrate, inn0vate and inspire is a key communication technique. The great news is that you don’t need a lot of skill to draw pictures. You simply need to develop a solid visual vocabulary.
The 7 Ways of Seeing is a collection of quick techniques I use to help me understand any object so that I can sketch it with accuracy and confidence. All these techniques are drawn from classical drawing methods; I’ve just simplified them, organized them into a sequence, and given them a handy moniker. Turns out this approach is helpful for anyone who wants to learn to make pictures.
Use these 7 techniques to…
- Sharpen your sketching skills so you can quickly make pictures in meetings, when you’re working out a problem, or when you’re taking notes.
- Gain confidence in making images from observation and building your hand-eye coordination.
- Expand your visual vocabulary with clear and accurate pictures of lots of objects. (You never know when you’ll need to draw a car. Or a cactus.)
Getting started
Grab some paper and a pen. Sharpies are great… they smell like ideas. But they can bleed through your paper. Be advised. 😉
Choose something to sketch. You can pick something small (like a flower or a shoe) or something in the landscape (like a car or a tree.) You should be able to see it clearly, and have it not move for about 10 minutes.
Each of the 7 techniques has a suggested time limit, but if you need more (or less) time, that’s a-okay.
When starting out, it’s a good idea to pick something simple. As you get more practice, it’s a lot of fun to sketch something complicated, or something that moves.
Try starting with something simple and everyday…like this example of a running shoe.
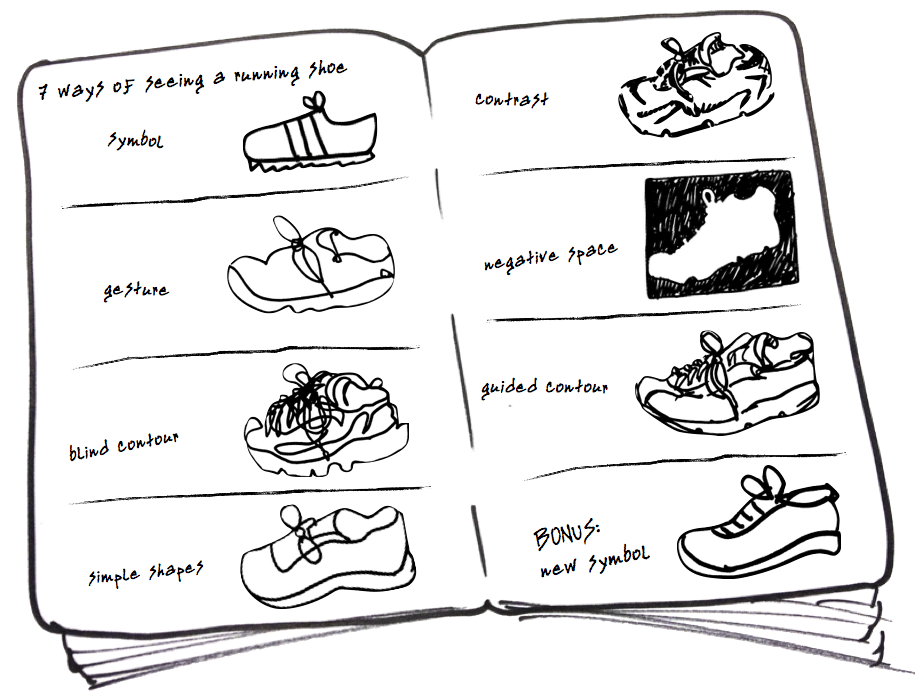
You can make sketches in a sketchbook, on a piece of paper, on index cards or even on sticky notes.
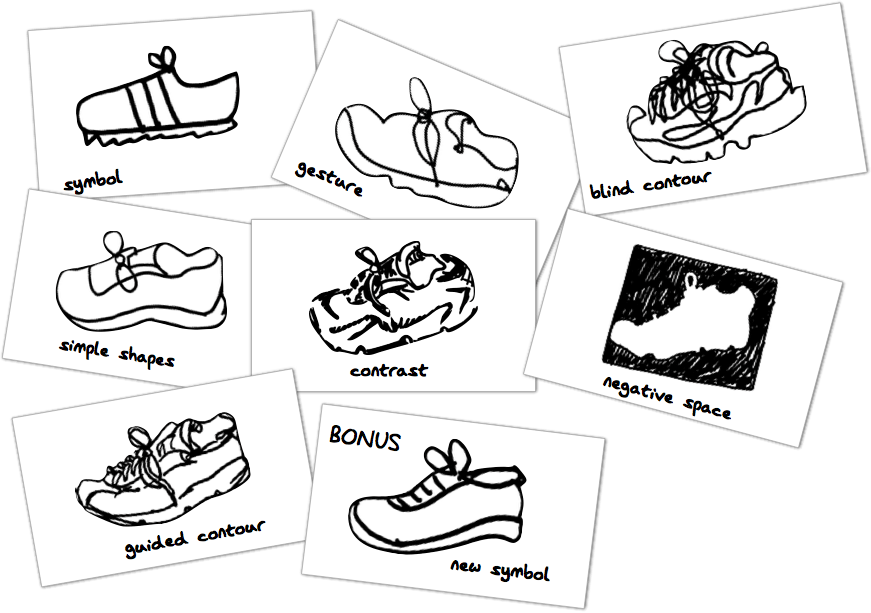
The 7 Ways of Seeing
Symbolic, Gesture, Blind Contour, Simple Shapes, Contrast, Negative Space, and Guided Contour.
Why are there 8 pictures in the examples?!?!?! Because sometimes I do a bonus 8th: New Symbol.
In about 10 minutes, you can complete them all. Doing them in sequence builds your sketching abilities and reinforces your observation skills.
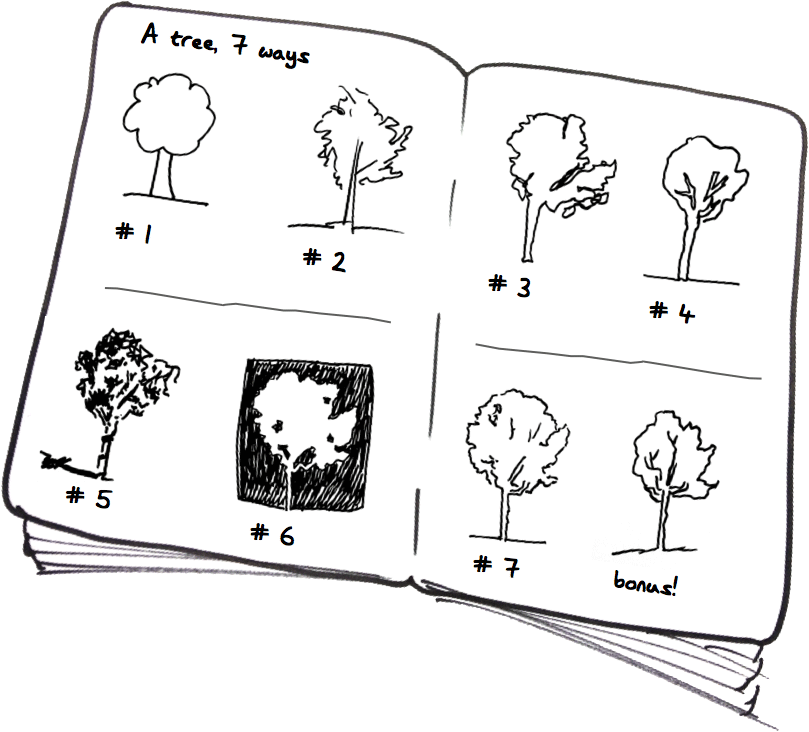
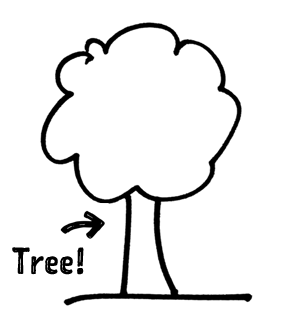
1: Symbolic
(10–15 seconds)
Without looking at the object, draw a simple version of it. Sketch the “idea” of the object, not the specific thing.
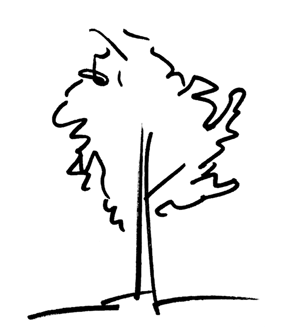
2: Gesture
(3–5 seconds)
Look at the object and make a very quick sketch of it, using only a few lines. Try to capture the “energy” and “rhythm” of the subject. Work super fast!
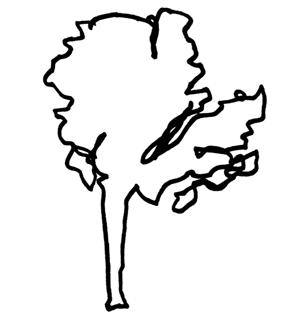
3: Blind Contour
(1–2 minutes)
Without looking at your pen or your paper, use your eyes to “trace” the edges of the object, while, at the same time, using your pen to draw the outline in a steady, continuous line. Don’t look at your paper, and don’t pick up your pen! Go slow.
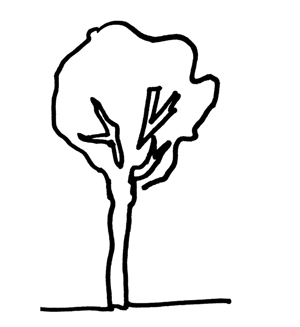
4: Simple Shapes
(1–2 minutes)
Stare at the object and break it down into basic shapes in your head. Aim for 3–4 shapes…no more than 6! Draw the shapes on your paper.
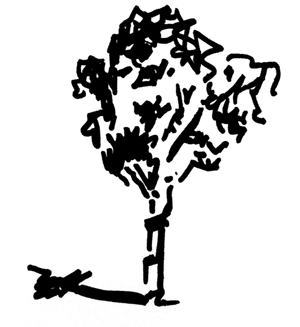
5: Contrast
(1–2 minutes)
Stare at the object and identify the shadows and darkest parts. Draw ONLY the darkest parts. Don’t draw outlines or lines unless they are the darkest parts.
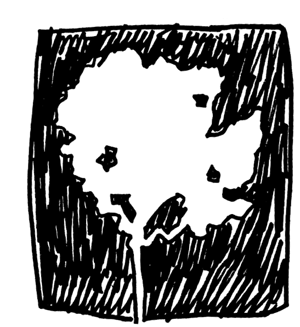
6: Negative Space
(2–3 minutes)
Draw the space AROUND the object. Try to get as much detail in the shape as possible. When you’re done, draw a box around the shape and quickly fill it in.
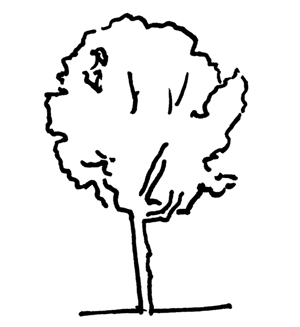
7: Guided Contour
(2–3 minutes)
Look intently at the object and use your eyes to “trace” the edges of the object, while simultaneously using your pen to draw the outlines and shapes. Glance back and forth between the object and your paper. Try to get as much accurate detail as possible while still working at a quick pace.
Bonus!
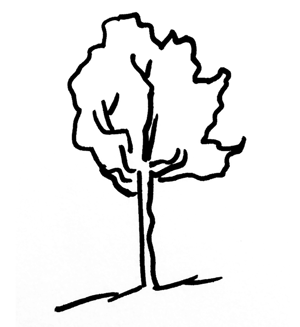
8: New Symbol
(10 seconds)
Using all your new knowledge, sketch an updated “symbolic” version. You’ll find that your new symbol is more accurate than the previous one.
Once you’ve got the hang of the method, you can use it to learn to draw pretty much any object. Carry a sketchbook with you and practice whenever you have a few minutes to spare.
Try different layouts and ordering to see what works best for you.
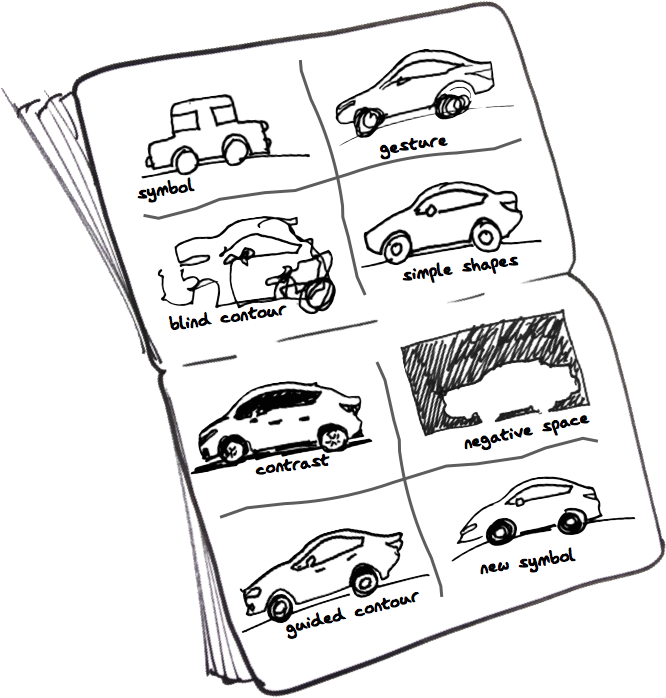
With only minutes of practice a day, you’ll gain confidence and skill that you can immediately apply to situations where a picture is worth 1,000 words.
When you use the 7 Ways of Seeing to explore the world, you’ll begin
to notice new things…more details, patterns in nature, and how things are put together. You’ll also become faster and more precise with your sketching. All these tricks help you build a rich, expressive and accurate visual vocabulary.
Ready for more? Here’s a handful of great observational sketching resources:
- The Natural Way to Draw by Kimon Nicolaides
- Drawing on the Right Side of the Brain by Betty Edwards
- The work of Danny Gregory: http://www.dannygregory.com
- The work of Wendy McNaughton: http://wendymacnaughton.com
- John Muir Laws Nature Journal Club: http://johnmuirlaws.com
- Urban Sketchers community: http://www.urbansketchers.org

Share your work on Twitter and Instagram tagged as #7WaysofSeeing.
Hello Kate,
I bumped into your site and this article while browsing.
‘When you draw an object, you understand it in a whole new way.’ – so true. In this digital age, one gets busy drawing on screen. Recently I went to Yosemite and did a water color sketch brought back the feeling of being closer to the subject.
Thanks for sharing this.
Cheers,
Shrikant